
✨ This article was AI edited. Editorial responsibility: Hysteroscopy.info.
Produced with AI. This article was artificially generated. Editorial responsibility: Hysteroscopy.info.
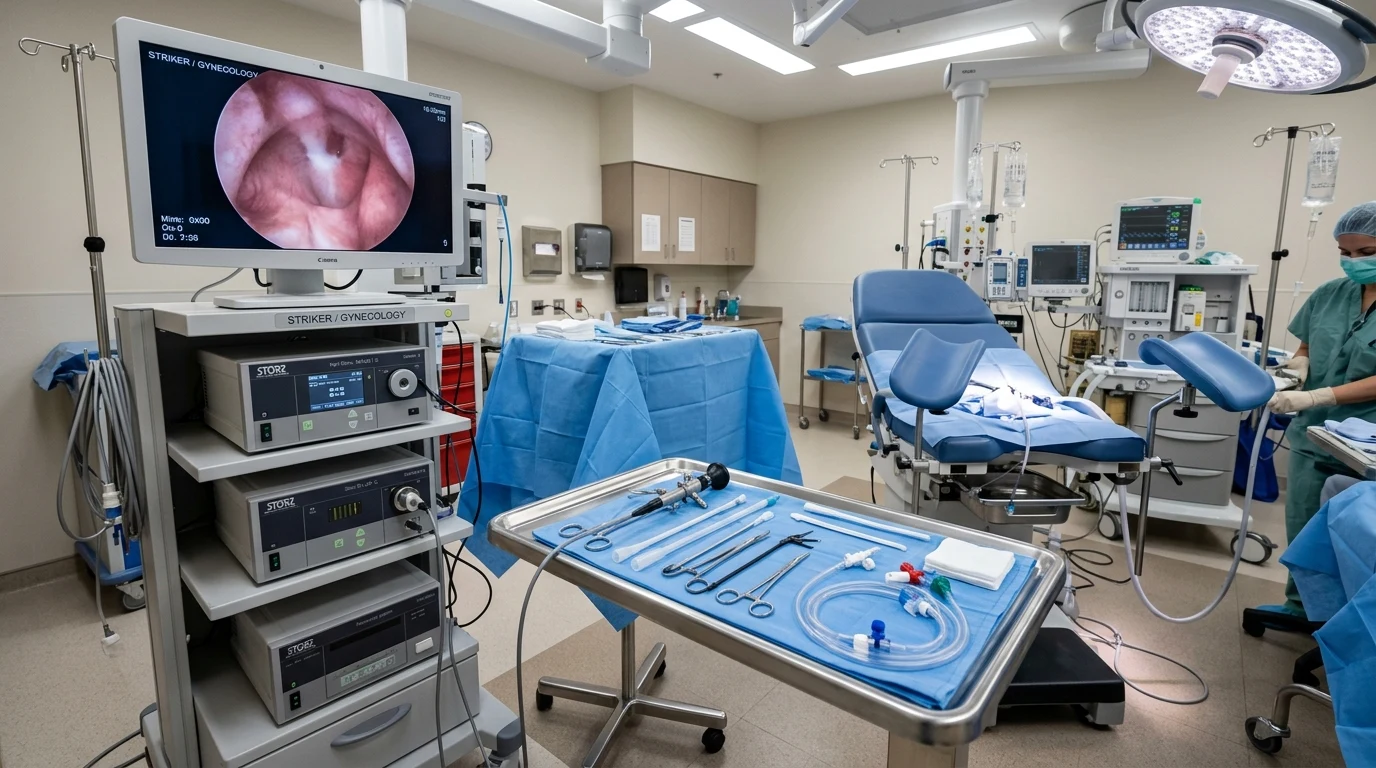
A hysteroscopy is done by inserting a thin, lighted optical telescope (hysteroscope) through the vagina and cervix directly into the uterine cavity under continuous saline distension. The procedure requires zero abdominal incisions and allows direct high-definition visualization of the endometrial lining, fallopian tube openings (ostia), and targeted pathology removal in 5 to 30 minutes.
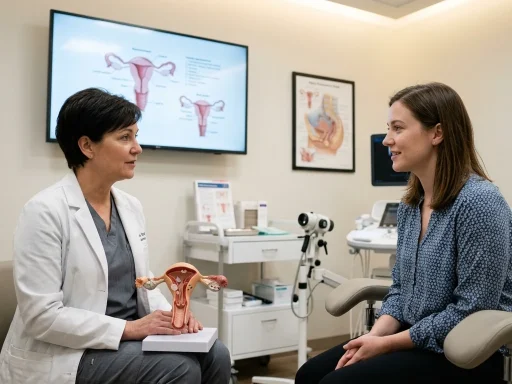
For patients scheduled for gynecological evaluation, understanding precisely how a hysteroscopy is performed demystifies the clinical process, reduces procedural apprehension, and empowers informed healthcare choices. Whether performed for abnormal uterine bleeding, fertility evaluation, recurrent miscarriage, or structural lesions, the technique combines precision optical engineering with gentle, minimally invasive tissue handling.
Clinical Equipment and Technology Overview
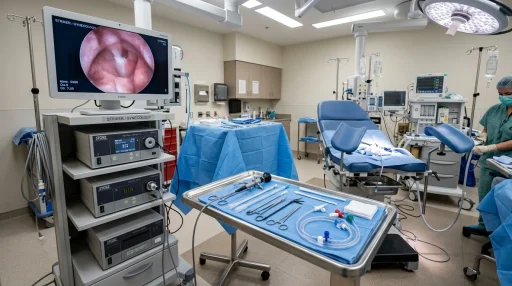
The modern hysteroscopic system comprises four integrated high-technology components engineered for diagnostic clarity and patient safety:
| System Component | Technical Specifications | Clinical Function in the Procedure |
|---|---|---|
| Rigid / Flexible Hysteroscope | Outer diameter 2.9mm – 5.5mm; 0°, 12°, or 30° angled optics | Transfers high-definition fiberoptic illumination and wide-angle endoscopic visualization through the cervical canal. |
| Continuous Flow Sheath | Dual-channel concentric metal cannula (inflow / outflow) | Maintains constant saline circulation, washing away blood and mucus to preserve a crystal-clear optical field. |
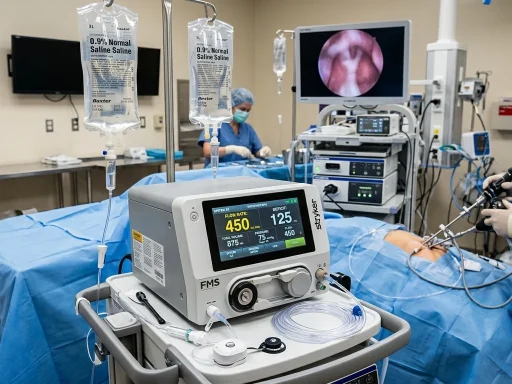
| Automated Fluid Management Pump | Real-time pressure regulated (70 – 100 mmHg) with load-cell scales | Gently expands the potential uterine cavity while continuously measuring fluid absorption deficit. |
| High-Definition Video Tower & Camera | 4K Ultra-HD sensor, LED cold light source, digital recording | Projects magnified live cavity imaging to the surgical monitor for surgical precision and medical record documentation. |
Step-by-Step Breakdown: How the Procedure Is Performed
The standard clinical workflow of a hysteroscopy progresses through six meticulously controlled stages:
Step 1: Patient Positioning and Aseptic Preparation
The patient is assisted into the dorsal lithotomy position with supportive leg stirrups. The external genitalia and perineal area are cleansed with a sterile antiseptic solution (povidone-iodine or chlorhexidine). Sterile surgical drapes are positioned to establish an aseptic procedural zone.
Step 2: Anesthesia Administration and Cervical Access
Depending on the clinical setting and patient preference, anesthesia options include:
- No Anesthesia / Vaginoscopic Approach: Modern miniature 2.9mm to 3.5mm “see-and-treat” hysteroscopes often require no speculum, tenaculum, or local anesthesia, minimizing discomfort by using fluid hydro-dilation to traverse the vagina and cervix.
- Paracervical Nerve Block: 1% to 2% lidocaine is injected at the 4 o’clock and 8 o’clock positions of the cervicovaginal junction, desensitizing the uterovaginal plexus within 2 to 3 minutes.
- Intravenous Conscious Sedation / General Anesthesia: Administered in hospital or ambulatory surgical centers for operative cases requiring broader instrumentation.
Step 3: Atraumatic Cervical Traversal & Cavity Distension
The tip of the hysteroscope is introduced under direct visual guidance into the external cervical os. Normal saline is gently infused to hydro-dilate the endocervical canal, allowing the surgeon to negotiate the internal os without blind probing or mechanical cervical tears. Once the scope passes the internal os, intrauterine pressure gently separates the opposing anterior and posterior endometrial walls.
Step 4: Panoramic Inspection and Systematic Cavity Survey
The gynecologist performs a systematic 360-degree survey of the entire uterine interior:
- Endocervical Canal: Checked for polyps, strictures, or chronic endocervicitis.
- Endometrial Cavity: Evaluated for vascular patterns, hyperplasia, polyps, or submucosal fibroids.
- Tubal Ostia: Direct bilateral inspection of both right and left fallopian tube openings confirms anatomical patency and symmetrical cavity architecture.
Step 5: Operative Interventions (If Indicated)
If pathological lesions are detected, specialized micro-surgical instruments are introduced through the working channel:
- Grasping Forceps & Micro-Scissors: Used for targeted biopsy extraction or division of thin synechiae.
- Mechanical Morcellation (e.g., MyoSure): Shaves and suctions out polyps and submucosal fibroids rapidly without thermal injury.
- Bipolar Electrosurgical Electrodes: Vaporize or resect vascular lesions with precise localized hemostasis.
Step 6: Scope Removal, Fluid Evacuation & Recovery
Following final cavity inspection and hemostasis confirmation, the distension fluid is evacuated, and the hysteroscope is withdrawn. The patient is transferred to the recovery lounge for 15 to 45 minutes of post-procedure observation.
What Does It Feel Like? (Patient Sensory Experience)
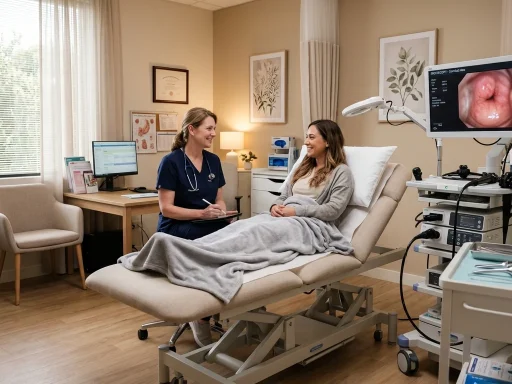
During an in-office diagnostic hysteroscopy, most patients report sensations resembling mild to moderate menstrual cramping as the saline gently distends the uterus. The cramping typically subsides within 10 to 15 minutes following scope withdrawal. Pre-medication with oral ibuprofen (800mg) taken 60 minutes prior significantly diminishes cramping intensity.
Frequently Asked Questions
How long does the actual procedure take?
The active endoscopic examination takes approximately 5 to 10 minutes for diagnostic cases, and 15 to 30 minutes for operative interventions.
Do I need someone to drive me home?
If performed in-office with local anesthesia or no sedation, you can safely drive yourself home. If any oral sedative, IV sedation, or general anesthesia is used, an adult companion must drive you.
When can I resume normal daily activities?
Most patients return to light activities and desk work the next morning. Pelvic rest (avoiding intercourse and tampons) is advised for 1 to 2 weeks.
Explore our complete guide on Day-by-Day Recovery Expectations and check our article on How to Prepare for Your Hysteroscopy.
Intraoperative Complication Prevention and Patient Safety
Modern gynecological endoscopy adheres to rigorous fail-safe protocols to minimize procedural risks:
- Uterine Perforation Prevention: Employing direct optical entry rather than blind mechanical sounds prevents false passages along the lower uterine segment or fundal perforation.
- Vasovagal Reaction Management: Continuous monitoring of pulse and blood pressure allows immediate recognition of cervical stimulation-induced bradycardia, managed promptly with gentle pauses or atropine if indicated.
- Infection Control & Sterility: Strict single-use disposable fluid inflow tubing and high-level gas plasma sterilization of rigid telescope lenses eliminate cross-contamination risks.
Post-Procedural Instructions: What to Do in the First 48 Hours
Following discharge, adhere to the following clinical recovery guidelines:
- Hydration & Light Nutrition: Drink plenty of water and consume light, easily digestible meals to aid recovery from local or IV anesthesia.
- Pain Management: Take scheduled nonsteroidal anti-inflammatory medications (such as Naproxen 500mg or Ibuprofen 600mg) as recommended by your physician.
- Warning Signs Requiring Clinical Contact: Contact your healthcare provider immediately if you experience heavy bleeding soaking more than two pads per hour, fever exceeding 100.4°F (38°C), or severe intractable pelvic pain unresponsive to oral analgesics.
Get our latest guides, news, and insights highlighted in your Google Search & AI Overviews.